Kids can make this Canada Day God’s Eye Ornament using just yarn and a couple of sticks from the backyard. Add some blue yarn, and you have a great craft for the 4th of July too!
If you were a child of the 60’s or 70’s, you’re probably very familiar with a God’s Eye ornament.
This is a classic yarn art project that involves weaving different colours of yarn around a couple of twigs. This craft was all the rage when I was a kid back in the 70’s.
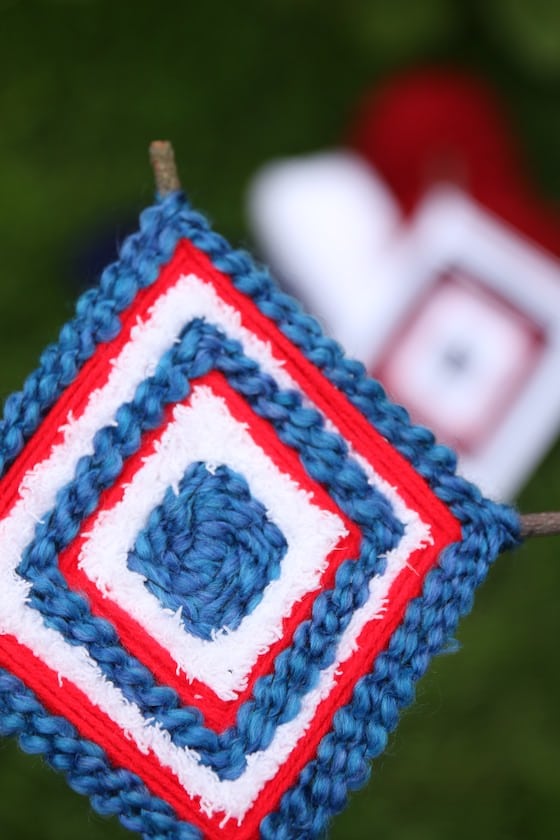
Today, we’re using red and white yarn to make our God’s Eye because we’re making Canada Day Crafts this week. You can use whatever colours you’d like for your God’s Eye. If you’re in the U.S. feel free to add some blue yarn to the mix, and make your own patriotic ornament for Independence Day!
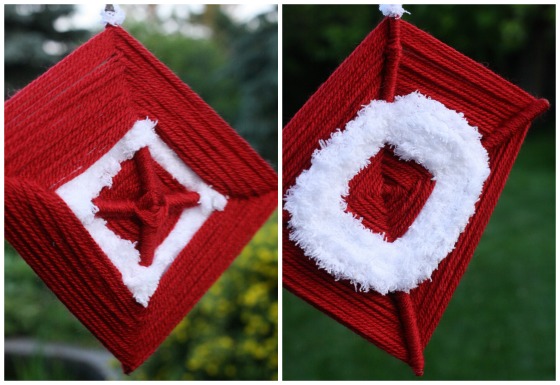
I personally love how well our woven pattern represents our country’s flag. You see, the Canadian flag has a red maple leaf surrounded by white, which is then bordered by 2 bands of red.
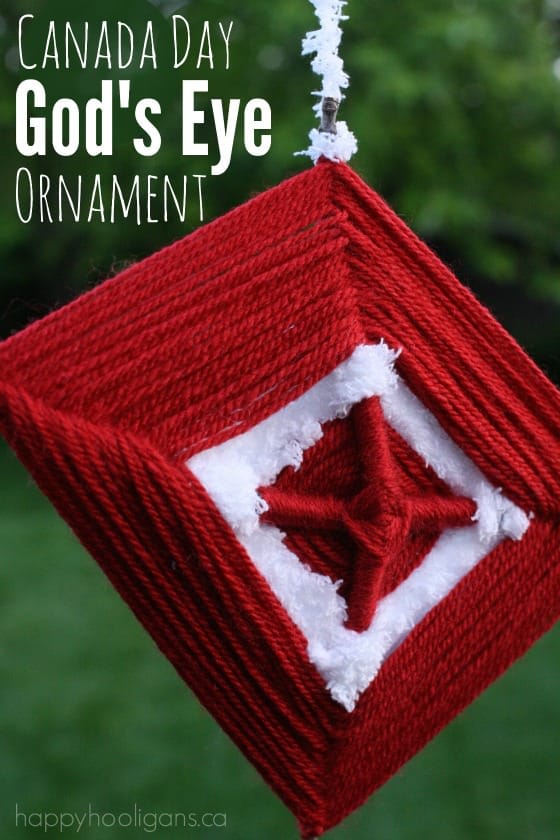
Our God’s Eye has a red centre surrounded by white, and then bordered by red. What a perfect Canada Day craft this turned out to be!
And here’s our red, white and blue ornament for Independent Day!
Let me show you how we made it…
To make our Patriotic God’s Eye Ornament, you’ll need:
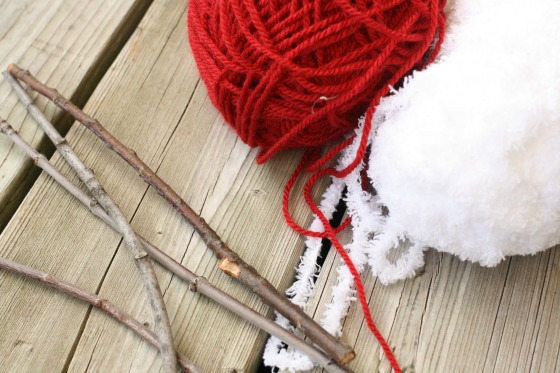
Supplies:
- red yarn
- white yarn
- 2 sturdy twigs approx 8 inches in length
- scissors
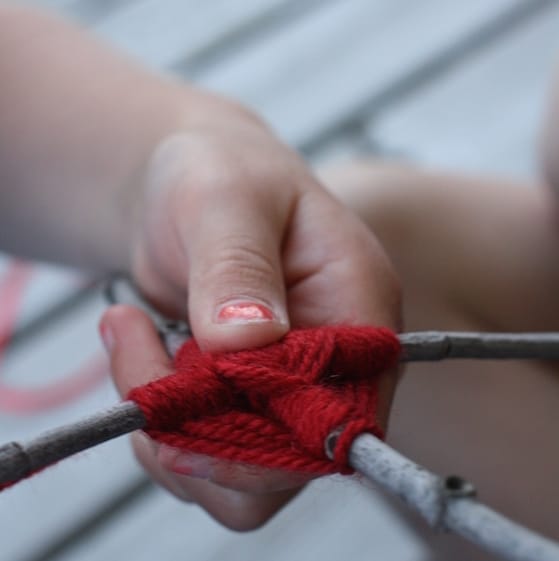
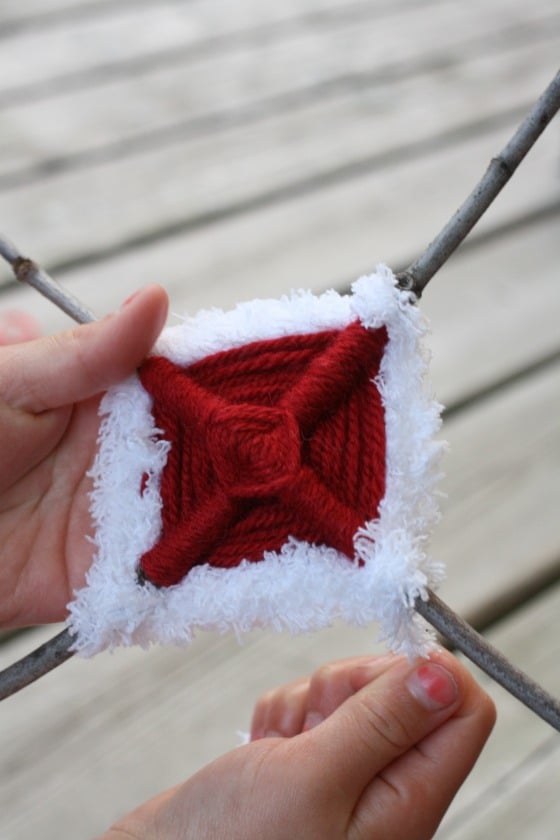
Begin by laying one stick on top of the other to make a cross. Secure the sticks together with a piece of red yarn. You can do this by wrapping the yarn in figure-8 fashion around the sticks where they cross each other. Knot it as you begin and then do a few figure-8’s to stabilize the position of the sticks.
Don’t cut the yarn – you’re going to continue weaving with it.
Holding the twigs with your left hand and the yarn with your right, begin weaving your yarn around and around the twigs.
You’ll wrap under and around one twig, and then over and around the next.
Move in a counter-clockwise fashion from one twig to the next, following that same weaving pattern: under and around on one twig, over and around on the next, under and around on the next twig, over and around on the next.
When you’re ready to switch colours, simply cut your yarn, and tie that cut piece to your next colour. Tighten the knot securely, and cut off any little tails of yarn so they don’t show in your weaving.
Continue weaving until you’re ready to change colours again.
When your twigs are covered, and you’re finished weaving, cut your yarn, and tie the loose end to a nearby piece of your weaving.
Attach another piece of yarn for hanging.
Our Canada Day God’s Eye was made by a 6 year old. This was her first attempt at weaving, and her results were gorgeous!
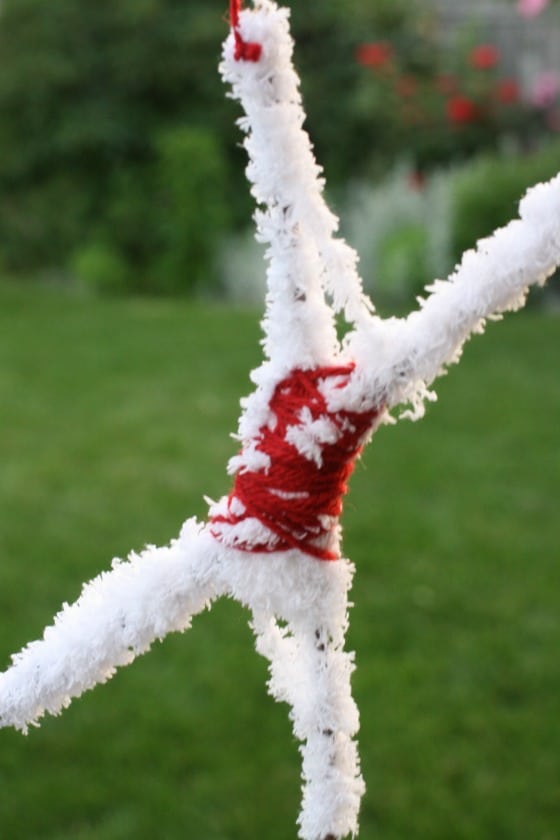
Her younger sister found the weaving to be a bit challenging, so she had a great time wrapping her sticks with the red and white yarn.
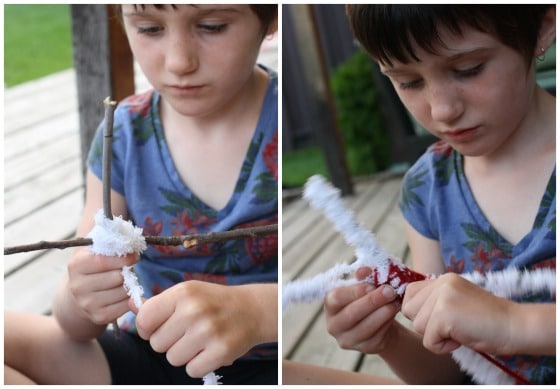
Both activities produced beautiful results and were excellent exercises in fine motor control and co-ordination!
If you don’t have twigs or sticks handy, Crafts by Amanda has some colourful craft-stick God’s Eyes that you can make.
If your kids are ready to move on to a yarn craft that’s just slightly more complex, teach them how to finger-knit or how to make pom pom! Both are quick and easy to do, and you can make some really cool things out of them!
Happy Canada Day!
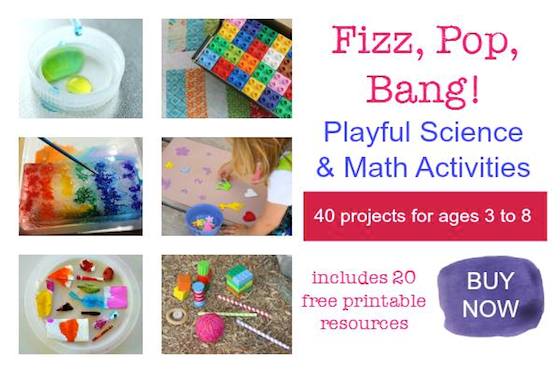
Get my latest e-book: Fizz, Pop, Bang! Playful Science and Math Activities
40 hands-on, learning activities for kids ages 3-8. Recipes, experiments, art projects, printables and play ideas with links to 80 activities not featured in the book.
Download your copy today for just 9.99
Follow the Hooligans on Facebook, Pinterest and Twitter!

Jackie is a mom, wife, home daycare provider, and the creative spirit behind Happy Hooligans. She specializes in kids’ crafts and activities, easy recipes, and parenting. She began blogging in 2011, and today, Happy Hooligans inspires more than 2 million parents, caregivers and Early Years Professionals all over the globe.


Cynthia
I remember making these! And yes, I am a child of the 70’s 🙂
Amanda
Your art activities is amazing. We are using all of them in our Pre-School. Thanks
happyhooligans
You’re so welcome, Amanda! I’m so happy to know that your little ones are enjoying our ideas!