A gorgeous paper mache platter that kids can make and decorate. Give it as a gift or use it in your own home. Wouldn’t this be lovely to make for a parent or grandparent? There’s nothing quite as special as receiving a hand-made gift from a child. Especially when that gift is really useful, and looks as pretty as this!
There are so many reasons I LOVE paper mache! For starters, it is such a versatile craft medium. You can make almost anything with paper mache because you can mold it around almost anything. And then, with a coat of paint, the results can be just beautiful. Remember the paper mache bowls we made for Mother’s Day? Those bowls were actually the inspiration for this platter.
Another reason I love paper mache is because we always have the materials on hand for the process. All you need is a simple paste (keep reading for details) and paper. With traditional paper mache, you use newspaper, but paper bags, tissue paper, construction paper or paper towels can also be used.
The paper mache process is a whole lot of fun too. It’s art AND a sensory activity all in one! Yes, it can be a bit messy, but if your kids like getting their hands goopy, they’ll love it.

You do need a bit of time for a paper mache project because there’s the drying time – usually a good 24 hours, and sometimes you’ll want to use two layers of paper to strengthen your project which means an extra day or two because the first layer has to dry before you add the second.
It’s worth the wait though because a paper mache project can look so impressive, and can last forever.
Just think of all the ways you could use this platter! In the office to hold keys, pens or mail. On a dresser to hold spare change and jewellery. In the craft room or sewing room to hold bobbins, thread, pins, scissors, etc. Or, you can do what I did, and use your platter for decorative purposes.
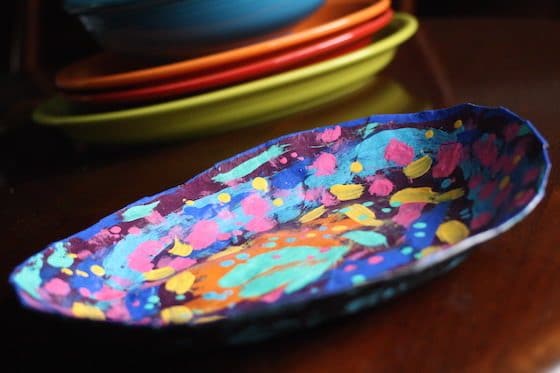
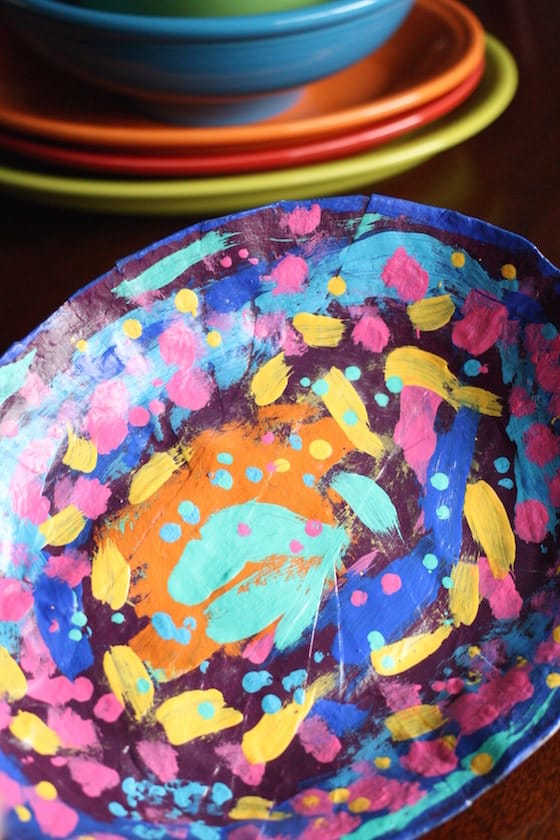
Yep. I was so smitten with the vibrant colours of our platter so that I gave it a home, on display, in my china cabinet. It looks amazing sitting among the assorted, colourful pieces of Fiesta Ware that I’ve been collecting. It looks so good that, at a glance, no-one would ever guess it was paper mache made by one of my daycare hooligans.
Ok! Let’s get down to business, and I’ll show you how to make this platter!
How to Make your Paper Mache Platter:
If you’ve never made paper mache before, click here for the ingredients and instructions to make your paste
Making the platter is the same process we used for making our bowls too.
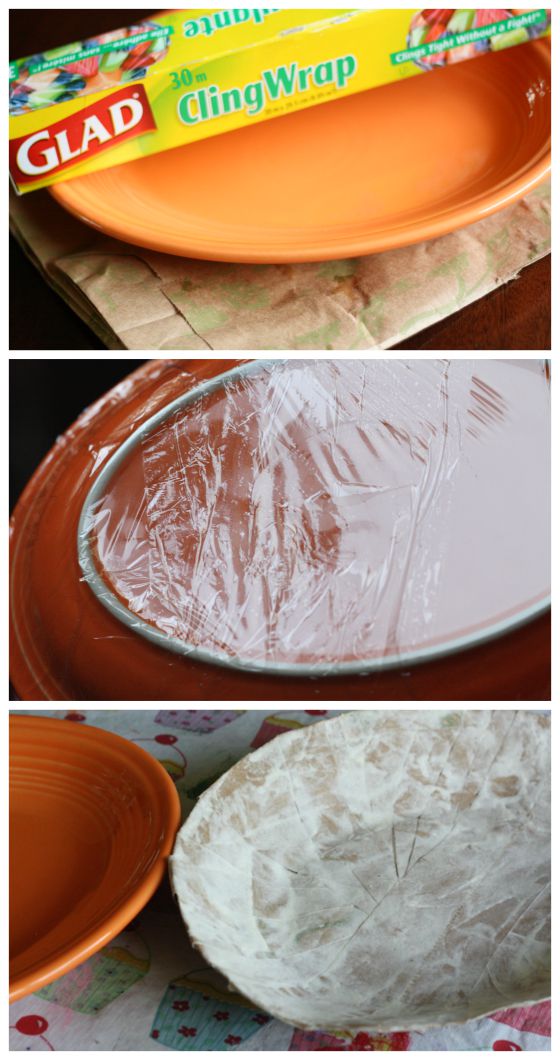
To prepare your platter, flip it upside down, and cover the outside of the bowl with a layer of plastic wrap.
Cut your paper bag into strips, and dip one strip into your paste. Run your fingers down the strip to remove excess paste, and smooth the paper strip over the plastic wrap. Overlap your strips a little as you work. Your paper strip will likely extend past the edge of your real platter by a bit, so just flip that extra bit back and smooth it in place with some paste. Repeat, overlapping your strips slightly as you work, and continuing to fold back any excess, forming a smooth edge around your paper plate platter.
Place your platter somewhere to dry for a day or two.
If you’re doing a second layer, you can pop the paper mache platter off the real platter, and you can lay the strips on the inside of the bowl this time. Excess paper can be smoothed over to the back of the bowl.
After another day or two, your project should be completely dry and ready to paint.
Painting and sealing your platter:
Ok! Time for some colour!
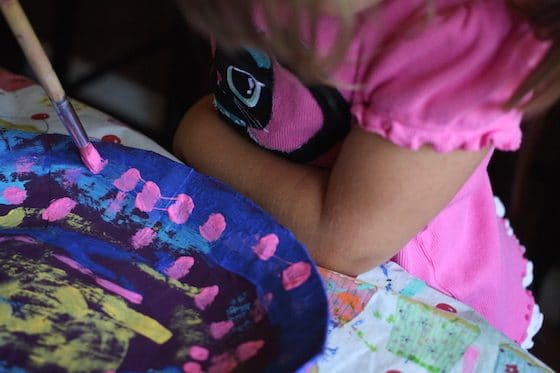
My hooligan went through our collection of acrylic craft paint and chose a bunch of different colours that she wanted to use.
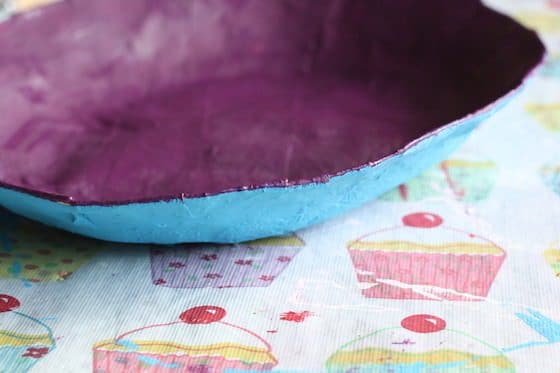
We decided to paint the front and back of the platter first.
Acrylic paints dry quickly (you can speed up the process with a hair dryer), so it wasn’t long before she could start in with all the other colours.
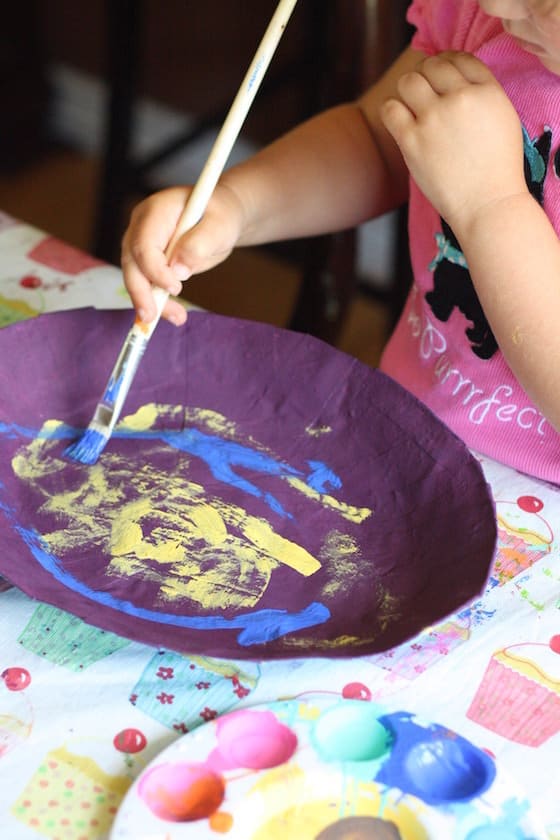
She used those colours to make lines and squiggles and dabs and dots all over the platter.
When the paint was dry, I brushed the entire platter with coat of acrylic craft sealer. Not only will the sealer protect the paint’s finish, it instantly makes paint colours richer and brighter, and adds depth and dimension to a painted project. I personally like using the satin fish. You get a rich, vibrant sheen that doesn’t look too glossy or shiny.
Well? What do you think? Isn’t it gorgeous? Time to do some paper mache with YOUR hooligans!
More gorgeous crafts that kids can make and give:
Beautiful Bookmarks with Sharpies and Alcohol
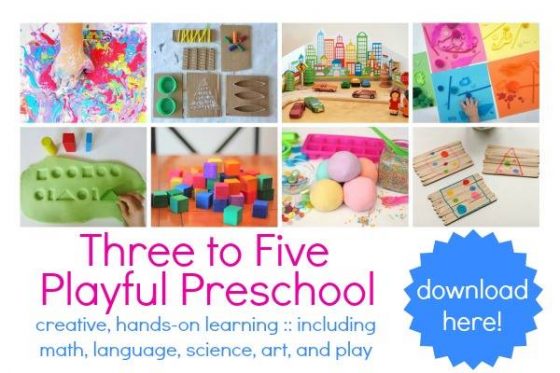
Get the 3-5 Playful Preschool e-Book!
25+preschool activities by 25 bloggers, 10 printables, 50 links to activities not featured in the book all for $8.99!
Follow the Hooligans on Facebook!

Jackie is a mom, wife, home daycare provider, and the creative spirit behind Happy Hooligans. She specializes in kids’ crafts and activities, easy recipes, and parenting. She began blogging in 2011, and today, Happy Hooligans inspires more than 2 million parents, caregivers and Early Years Professionals all over the globe.


Leave a Reply