Welcome to Happy Hooligans, where crafting with kids is fun, easy and affordable. Today, I’m going to show you how to “Pour Paint” a rock so your kids can make colourful paperweight to give to Dad for Father’s Day.
This pour painting technique is different that the one we used for our pour painted Christmas ornaments. This time we’re pouring our paint onto an object instead of into an object.
What is Pour Painting?
Pour painting (or paint pouring) is just what it sounds like. It’s a creative art technique that involves pouring multiple colours of paint on an object until it’s covered in psychedelic swirls of colour.
The process is fascinating and addictive.It’s so cool to watch the slick, fluid designs appear as the paint colours puddle and collide.
There are no brushes involved in pour painting, or any other tools for that matter. It’s just paint and gravity doing their thing together.
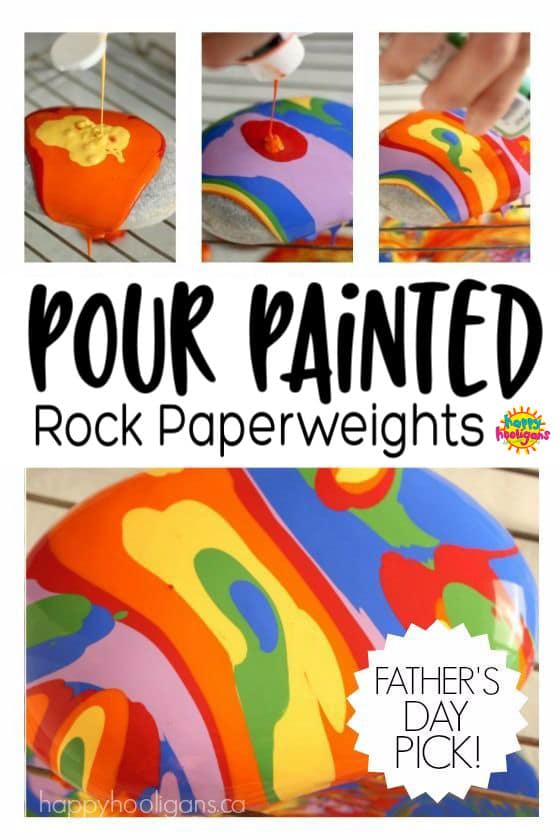
You really have to see it to appreciate it so I’ve included a video so you can watch the process from start to finish.
The step-by-step instructions are below the video.
Watch this video to see us making a pour painted rock:
With Mother’s Day and Father’s Day coming up, keep these paperweights in mind for your kids or students to make.
I know how much they love to give homemade, and I guarantee they’ll be so excited to give one of these to someone special.
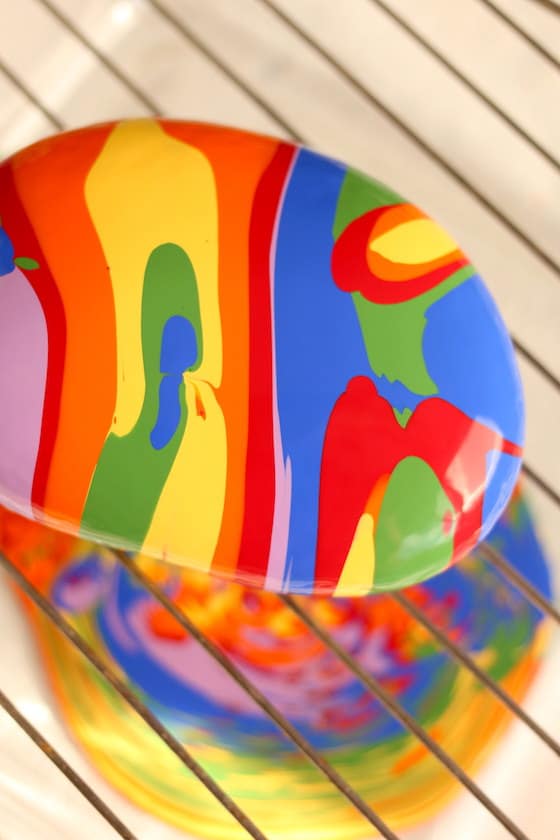
How to Make Pour Painted Rock Paperweights:
Supplies:
- smooth, clean beach stones
- acrylic craft paint – variety of colours
- cookie cooling rack
- tray or pan to collect the run-off
- craft varnish if desired
Prepare your stones:
First, you’ll need to scrub your stones to remove any dirt and debris. Your paint may not adhere well to them if you skip this step.
I always get questions about our stones. Aren’t they great? We have a beach nearby, and the sand is strewn with thousands of them. We bring home a bucket or two every time we’re there, which is why I have so many stone crafts and activities here on my blog.
To dry your stones quickly, you can set them in the sun, blast them with the hair dryer, or place them in a warm oven.
Now the fun begins!
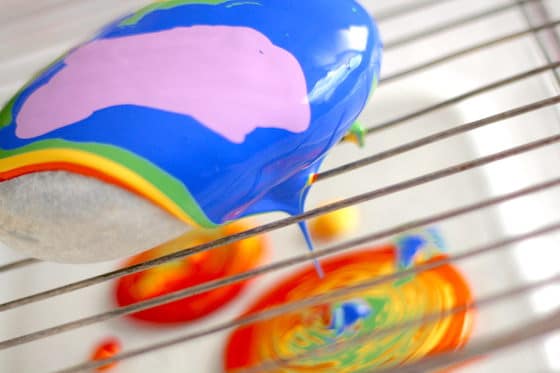
Set your cooling rack on top of a baking sheet, or a tray with a raised edge. The cooling rack will allow excess paint to run off of your stone, and the pan or tray will catch it.
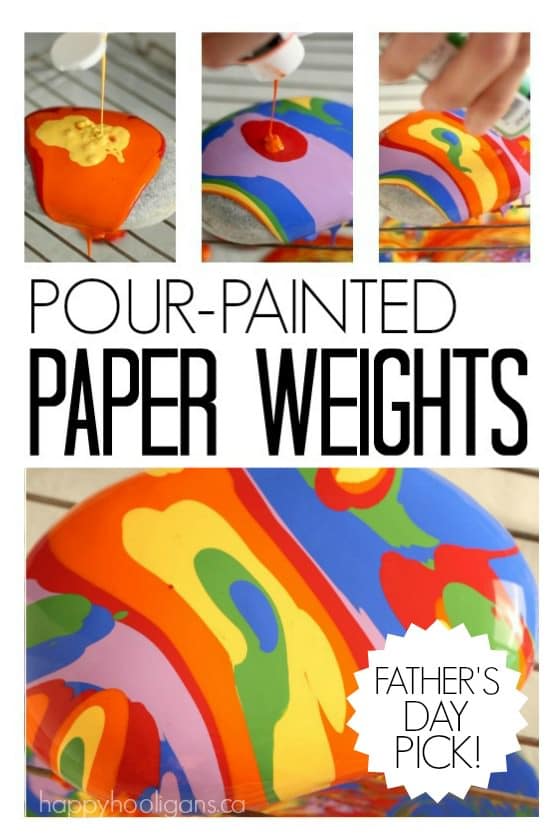
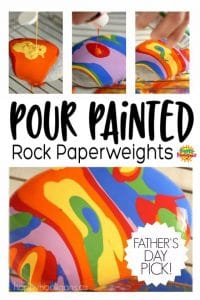
Begin by pouring a generous amount of paint onto your rock. When you have a nice puddle there, grab a second colour, and squeeze a generous amount on to the first. Repeat with a third and a fouth…
These photos will give you an idea of the process.

If there are bare areas that your paint hasn’t covered, just squeeze some on to that area, and drizzle another colour or two on top.
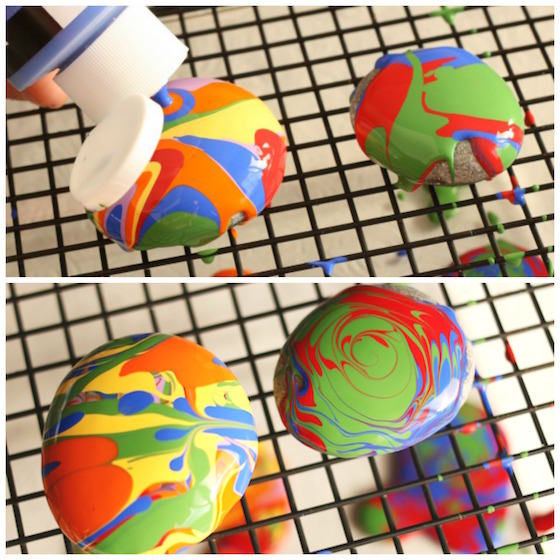
Here are a couple of smaller stones that we painted. Check out the swirls of colour on the green one! Isn’t it crazy how that happens?
And look at the beautiful and growing puddle of paint underneath the rack!
Isn’t that just gorgeous?
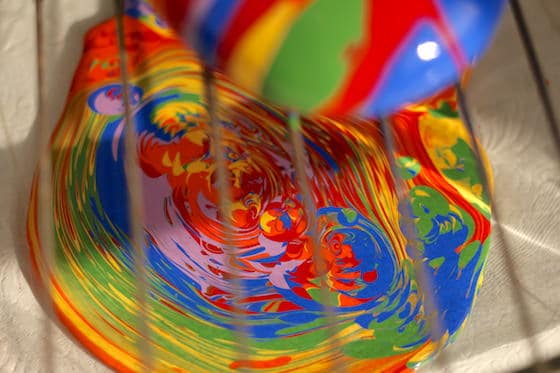
It’s so cool to watch the paint colours push each other around as they flow and drip on top of one another.
It’s actually quite relaxing and therapeutic to observe.
Should you thin your paints first?
We used our acrylics full-strength, but they were pretty thick. You could definitely pour your paint into a little cup first, and thin it with a BIT of water or a thinning medium made for acrylics. Unfortunately, I can’t tell you how much water to add, because I’ve never thinned ours. I would start with just a few drops, and see how it goes.
What about the wasted paint?
There will definitely be run-off, but you could always put a small canvas on the tray underneath the cooling rack and create a second piece of art.
You might be thinking that this is an expensive project, but it’s not at all.
I buy our acrylics at the dollar store – they’re vibrant and the quality is great but they’re inexpensive.
When you consider the rocks didn’t cost us a thing, our pour painted paper weights probably come in at about a dollar or less a piece.
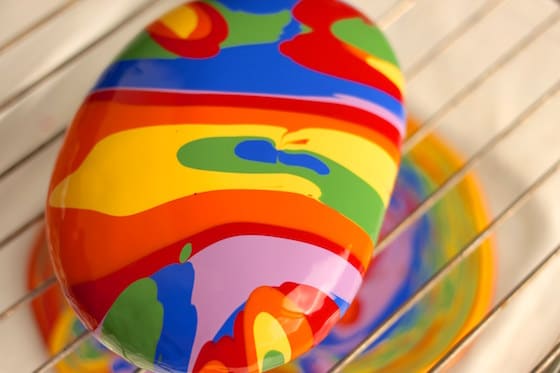
That’s not bad at all for such a beautiful gift!
Varnish If Desired
If you’d like to give your paper weights a little extra sheen and a bit of protection, you can brush on a coat or two of matte craft varnish or sealer once the paint has fully dried.
We haven’t varnished ours yet, but I will. I want these to last forever!
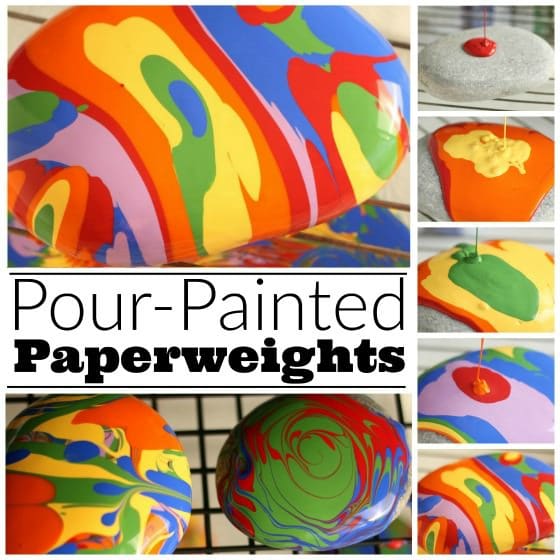
If you make our pour painted rock paperweights, let us know how they turn out!
I’m certain whoever is on the receiving end will be impressed.
More Father’s Day Crafts for Dad:
12 Homemade Gifts and Cards for Kids to Make for Father’s Day
More Stone and Rock Crafts for Kids:
- Homemade Story Stones
- Good Luck Stones for Scared or Anxious Kids
- Hand Painted Paper Weights
- Finger Painted Paper Weights for Toddlers
Get the 3-5 Playful Preschool e-Book!
25+preschool activities by 25 bloggers, 10 printables, 50 links to activities not featured in the book all for $8.99!
Follow the Hooligans on Facebook

Jackie is a mom, wife, home daycare provider, and the creative spirit behind Happy Hooligans. She specializes in kids’ crafts and activities, easy recipes, and parenting. She began blogging in 2011, and today, Happy Hooligans inspires more than 2 million parents, caregivers and Early Years Professionals all over the globe.



amy
I LOVE THIS! You can save that extra paint if theres enough to save by just pouring it into noher paint bottle. the kiddos would love that for another project!
Barb
Make scrapbook paper or bookmarks using the run off paint by laying paper or card stock on the paint.
Sian
I might put another rock underneath the rack so that it will get covered by the run off paint (maybe a smaller rock?). 2 covered rocks for the price of 1 !
happyhooligans
Oh, great thinking, Sian!
CANDACE TAYLOR
i AM WANTING TO DO THIS WITH MY KINDERGARTENERS. I HAVE A QUESTION. DOES THE PAINT RUN ALL UNDER THE ROCK ALSO?
Jackie Currie
It will run under a little, Candace but not completely.
Pam
I’m a jewelry artist, and when I was first introduced to pour-painting, I was more excited about the puddles of leftover paint than I was about the painting! Dried acrylic paint is a piece of plastic! I quickly got busy making jewelry out of it by cutting pieces and mounting them in inexpensive jewelry pendants and covering it with Diamond Glaze or the matching glass pieces. Small trinkets or glitter can be added, for extra glam.
Jackie Currie
Fantastic! The leftovers are so gorgeous! Good for you for getting so creative with them!
Karen Self
When I do this and they dry they don’t shine like yours.
Jackie Currie
The clear coat of acrylic craft varnish that we put on once the paint dries is what makes them shine, Karen.
Gail Porter
I LOVE the drips too! Am fixin’ to decoupage some to this little cement “ashtray” I made, using plastic beach toy as a mold. Hope it works!